
Ever wonder what makes a drone tick? Here’s a run down of what I’m putting into my racing quadcopter. You will find all of these parts in some form or another on any multi-rotor, whether it be store bought or hand made. If you want top end performance you more or less still have to build your own (which is fine by me!), but within the last few months a few companies have started putting together ready-to-fly packages with really good gear. It’s not price competitive yet, though it sure is more time efficient than going the DIY route… luckily for me building the machine is half the fun! Let’s get right to it then. First, the camera:
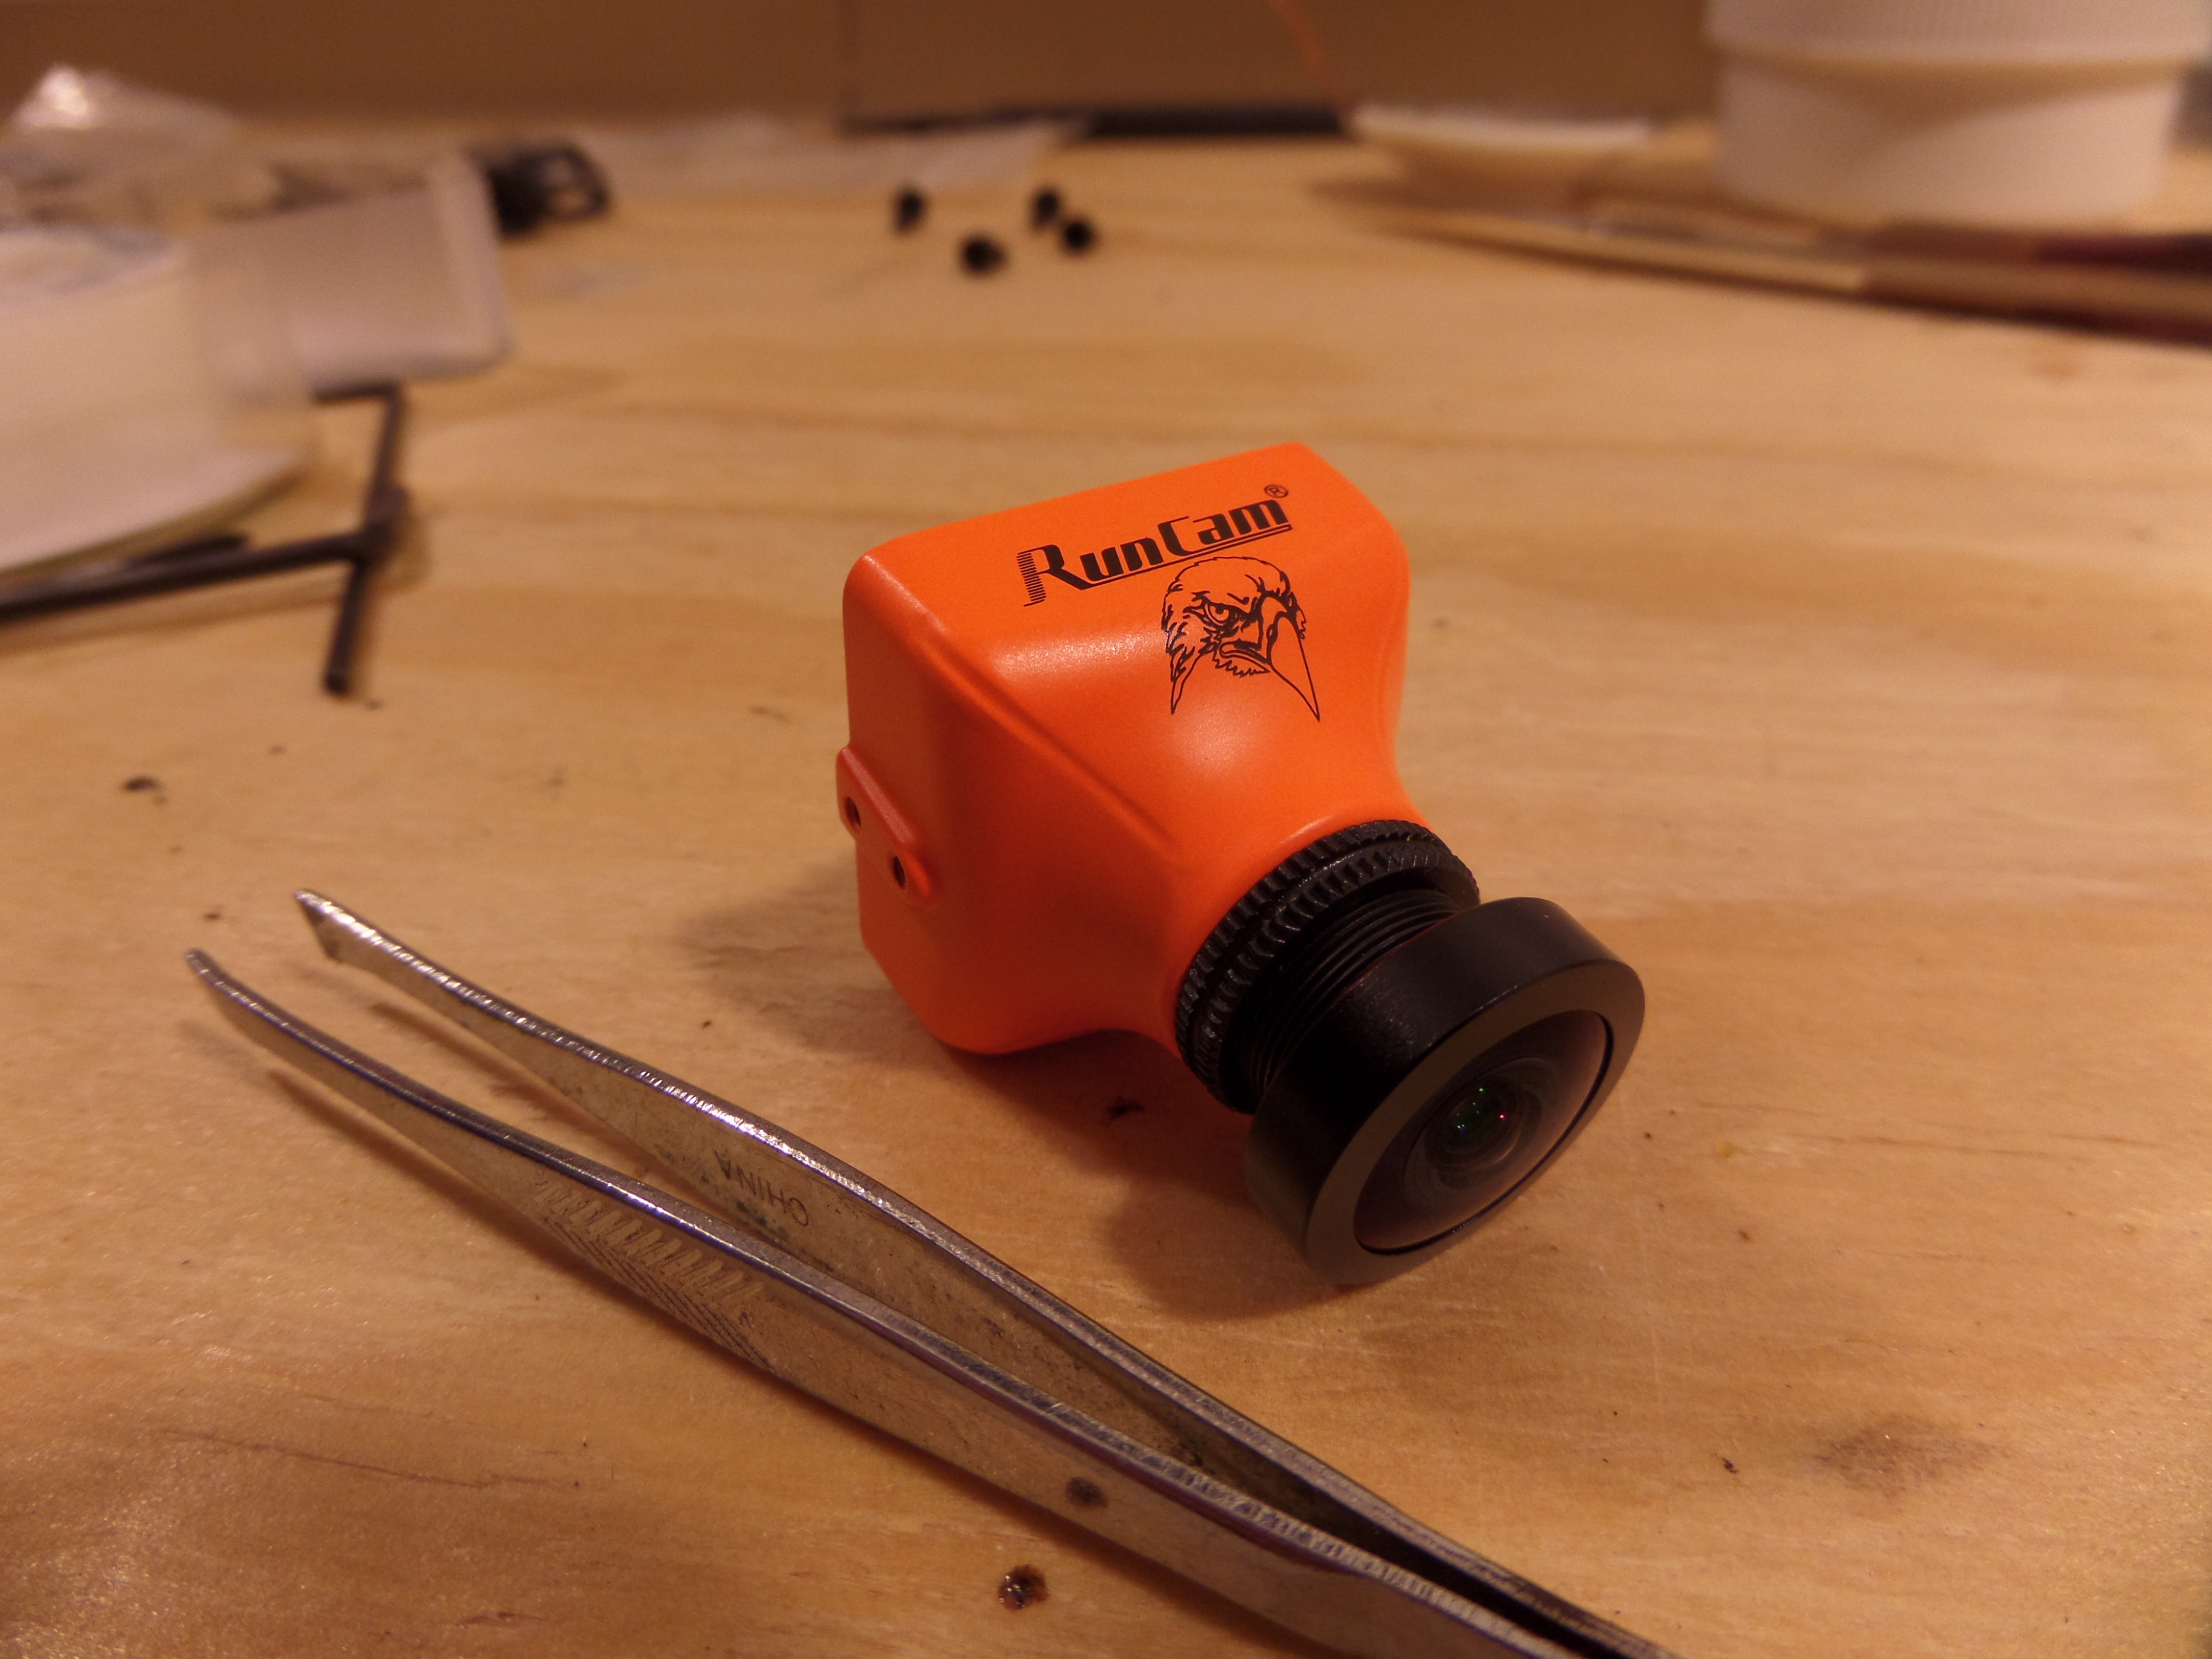
Runcam Eagle with tweezers for perspective
Most action-packed racing drone videos you see online are filmed by onboard high definition cameras made by GoPro, Mobius, Garmin (yes, there are Virb videos out there!), or others. However, it’s actually rare for the pilot to be flying by the video feed from those cameras. What most people use are cameras that have come out of the CCTV industry. By now there are companies making them especially for FPV flight, but the reason they have always been preferred is due to their simplicity, form factor, and low latency. They have one job – output a reliable, standard definition video stream. They fit inside our small copter frames and so are easily protected. Our wireless video links are analog and don’t carry HD video, so even if you connect a GoPro’s video feed to the copter’s video transmitter, it still comes out as SD video on the ground.

Aomway TX001 video transmitter – 40 channels, switchable power levels
This is what transmits the video from the quadcopter to the ground. It can transmit on one of 40 different channels in the 5.8GHz spectrum and can output 25mW, 200mW, or 600mW of power. There is a sort of gentleman’s agreement to use 200mW power when flying in a group in order to prevent as much interference with other channels as possible, but it is nice to have some other options available to better suit whatever environment I might be flying in. But what good is a transmitter without an antenna?
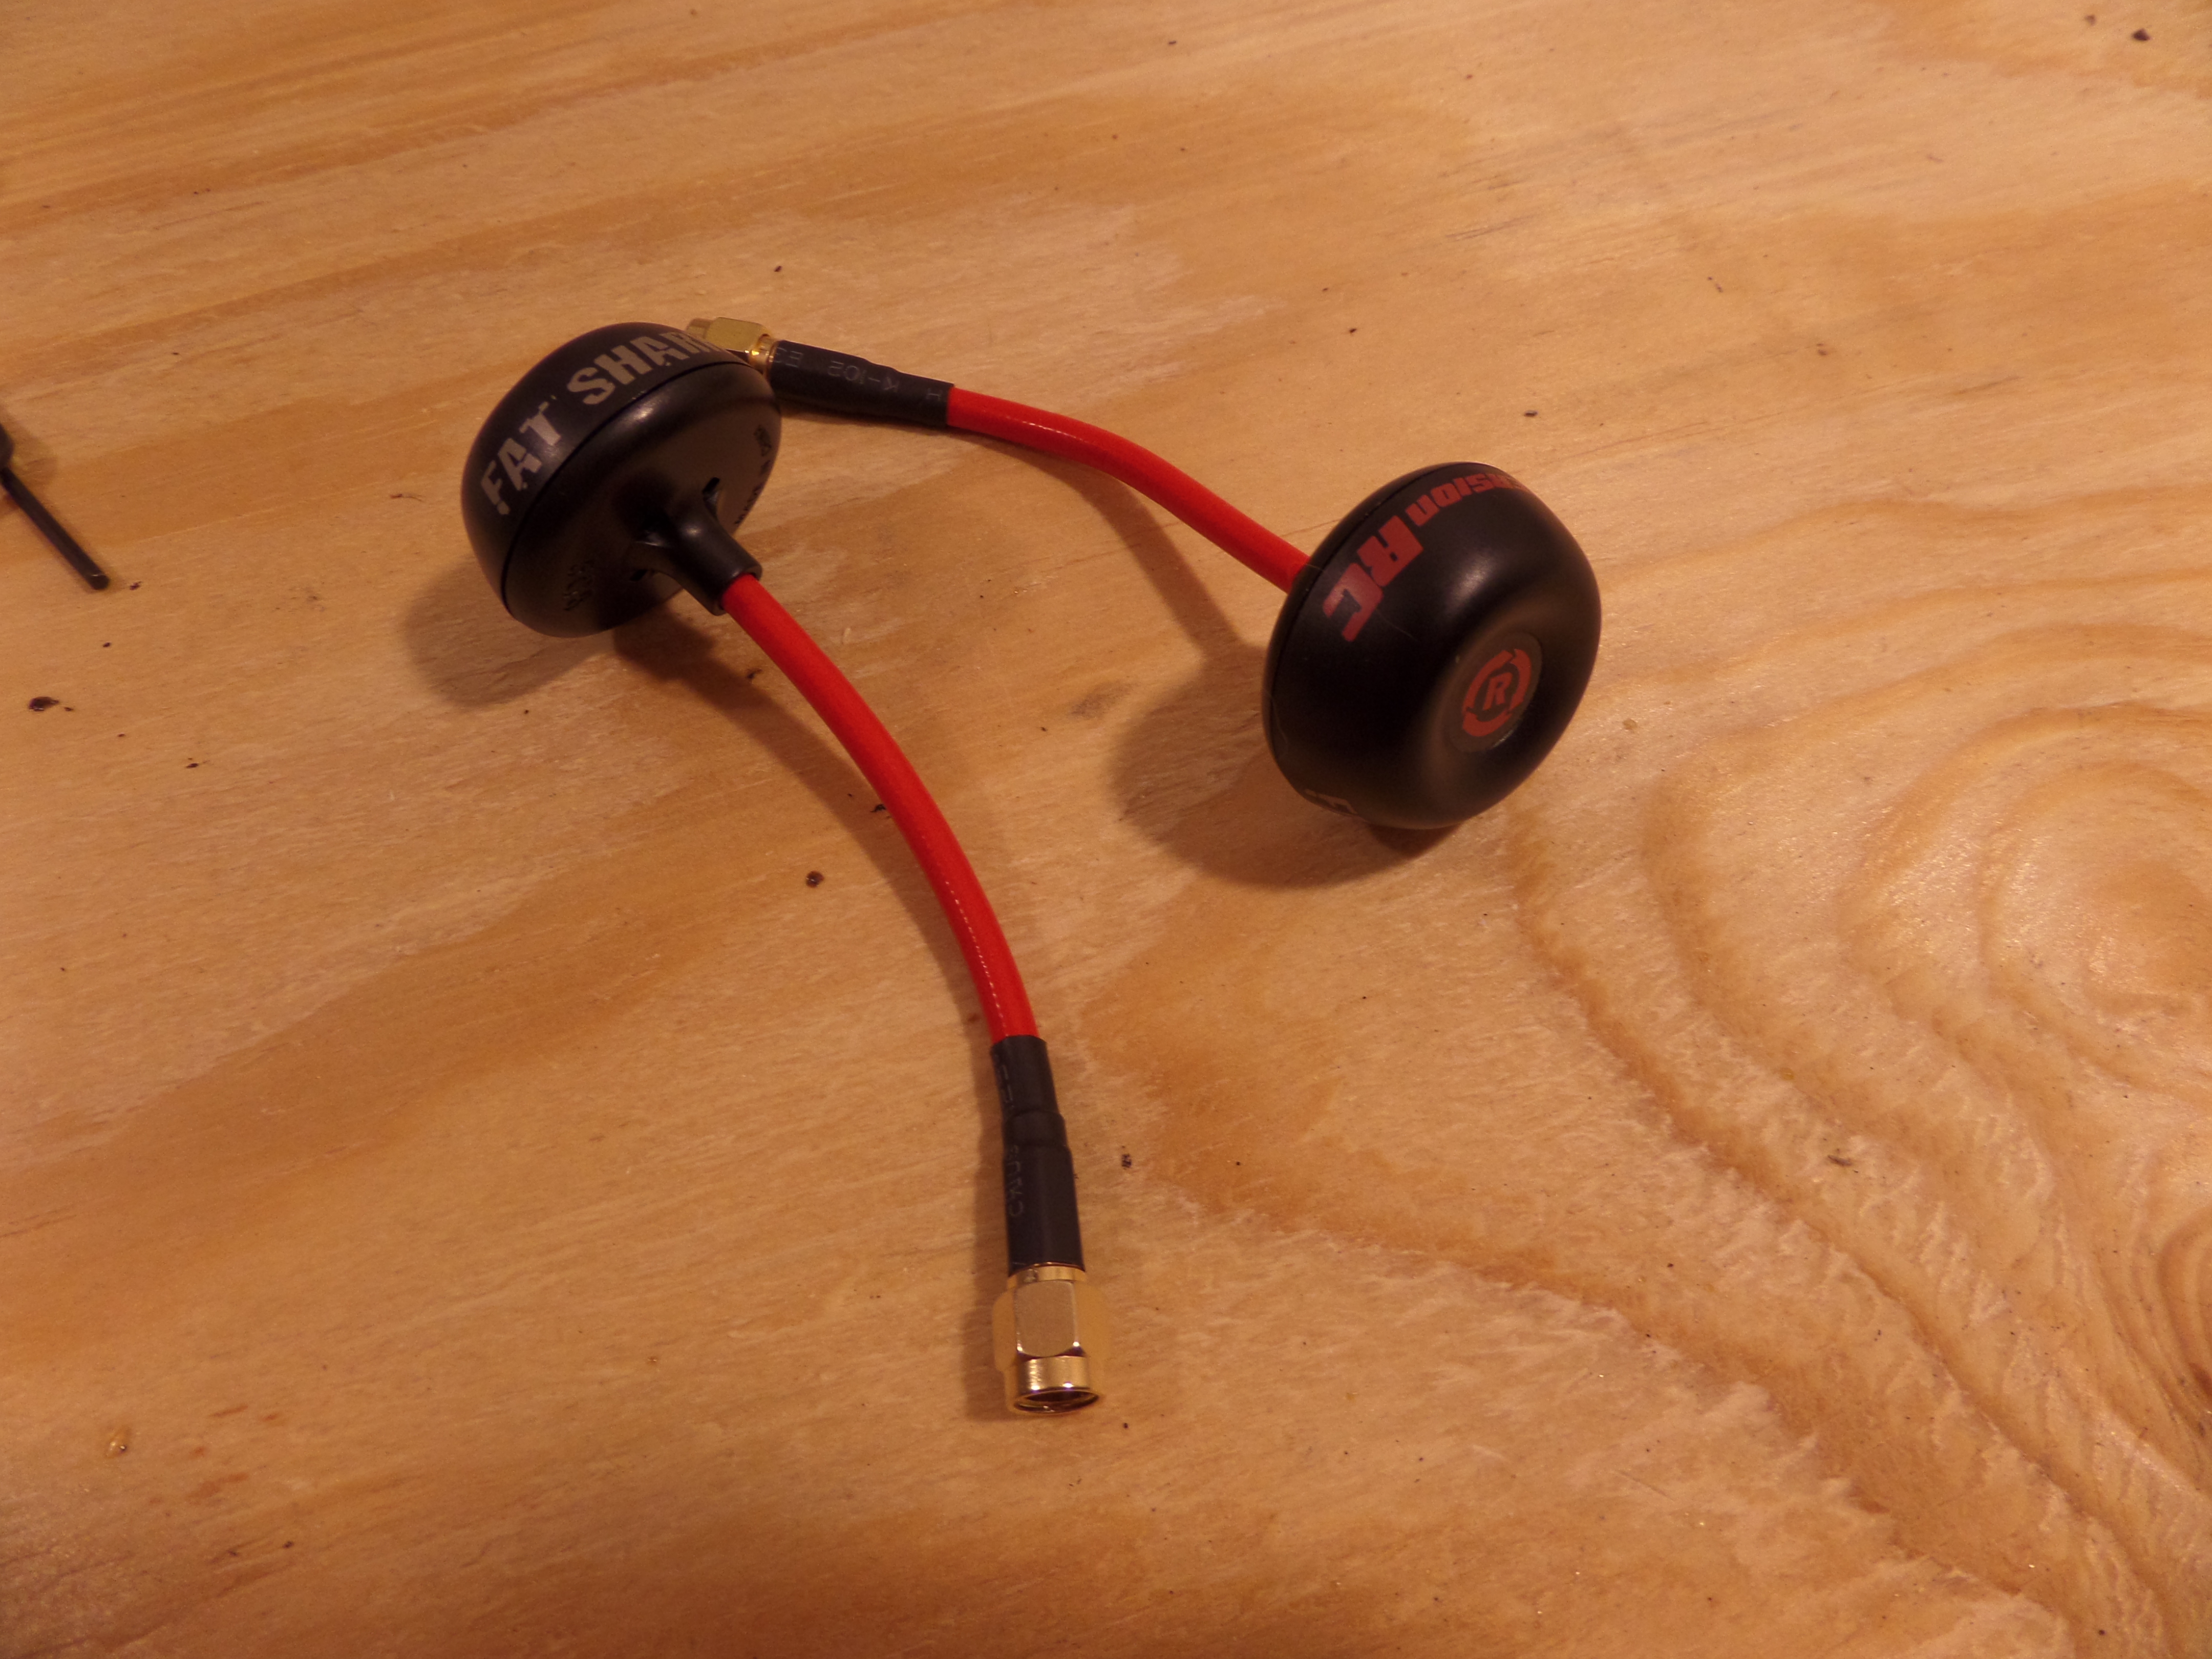
ImmersionRC SpiroNet antennas
These antennas are omni-directional and so should give the same reception in any direction. That’s not strictly true–they do have weak spots directly above and below them–but for my intents and purposes they are what they say they are. They send out a circularly polarized signal to help prevent multipath interference and are generally the most popular type of antenna used for FPV.
This equipment obviously needs power, and since there’s a fair bit more scrolling to go on this post, our power needs are probably complicated. That’s what this is for:
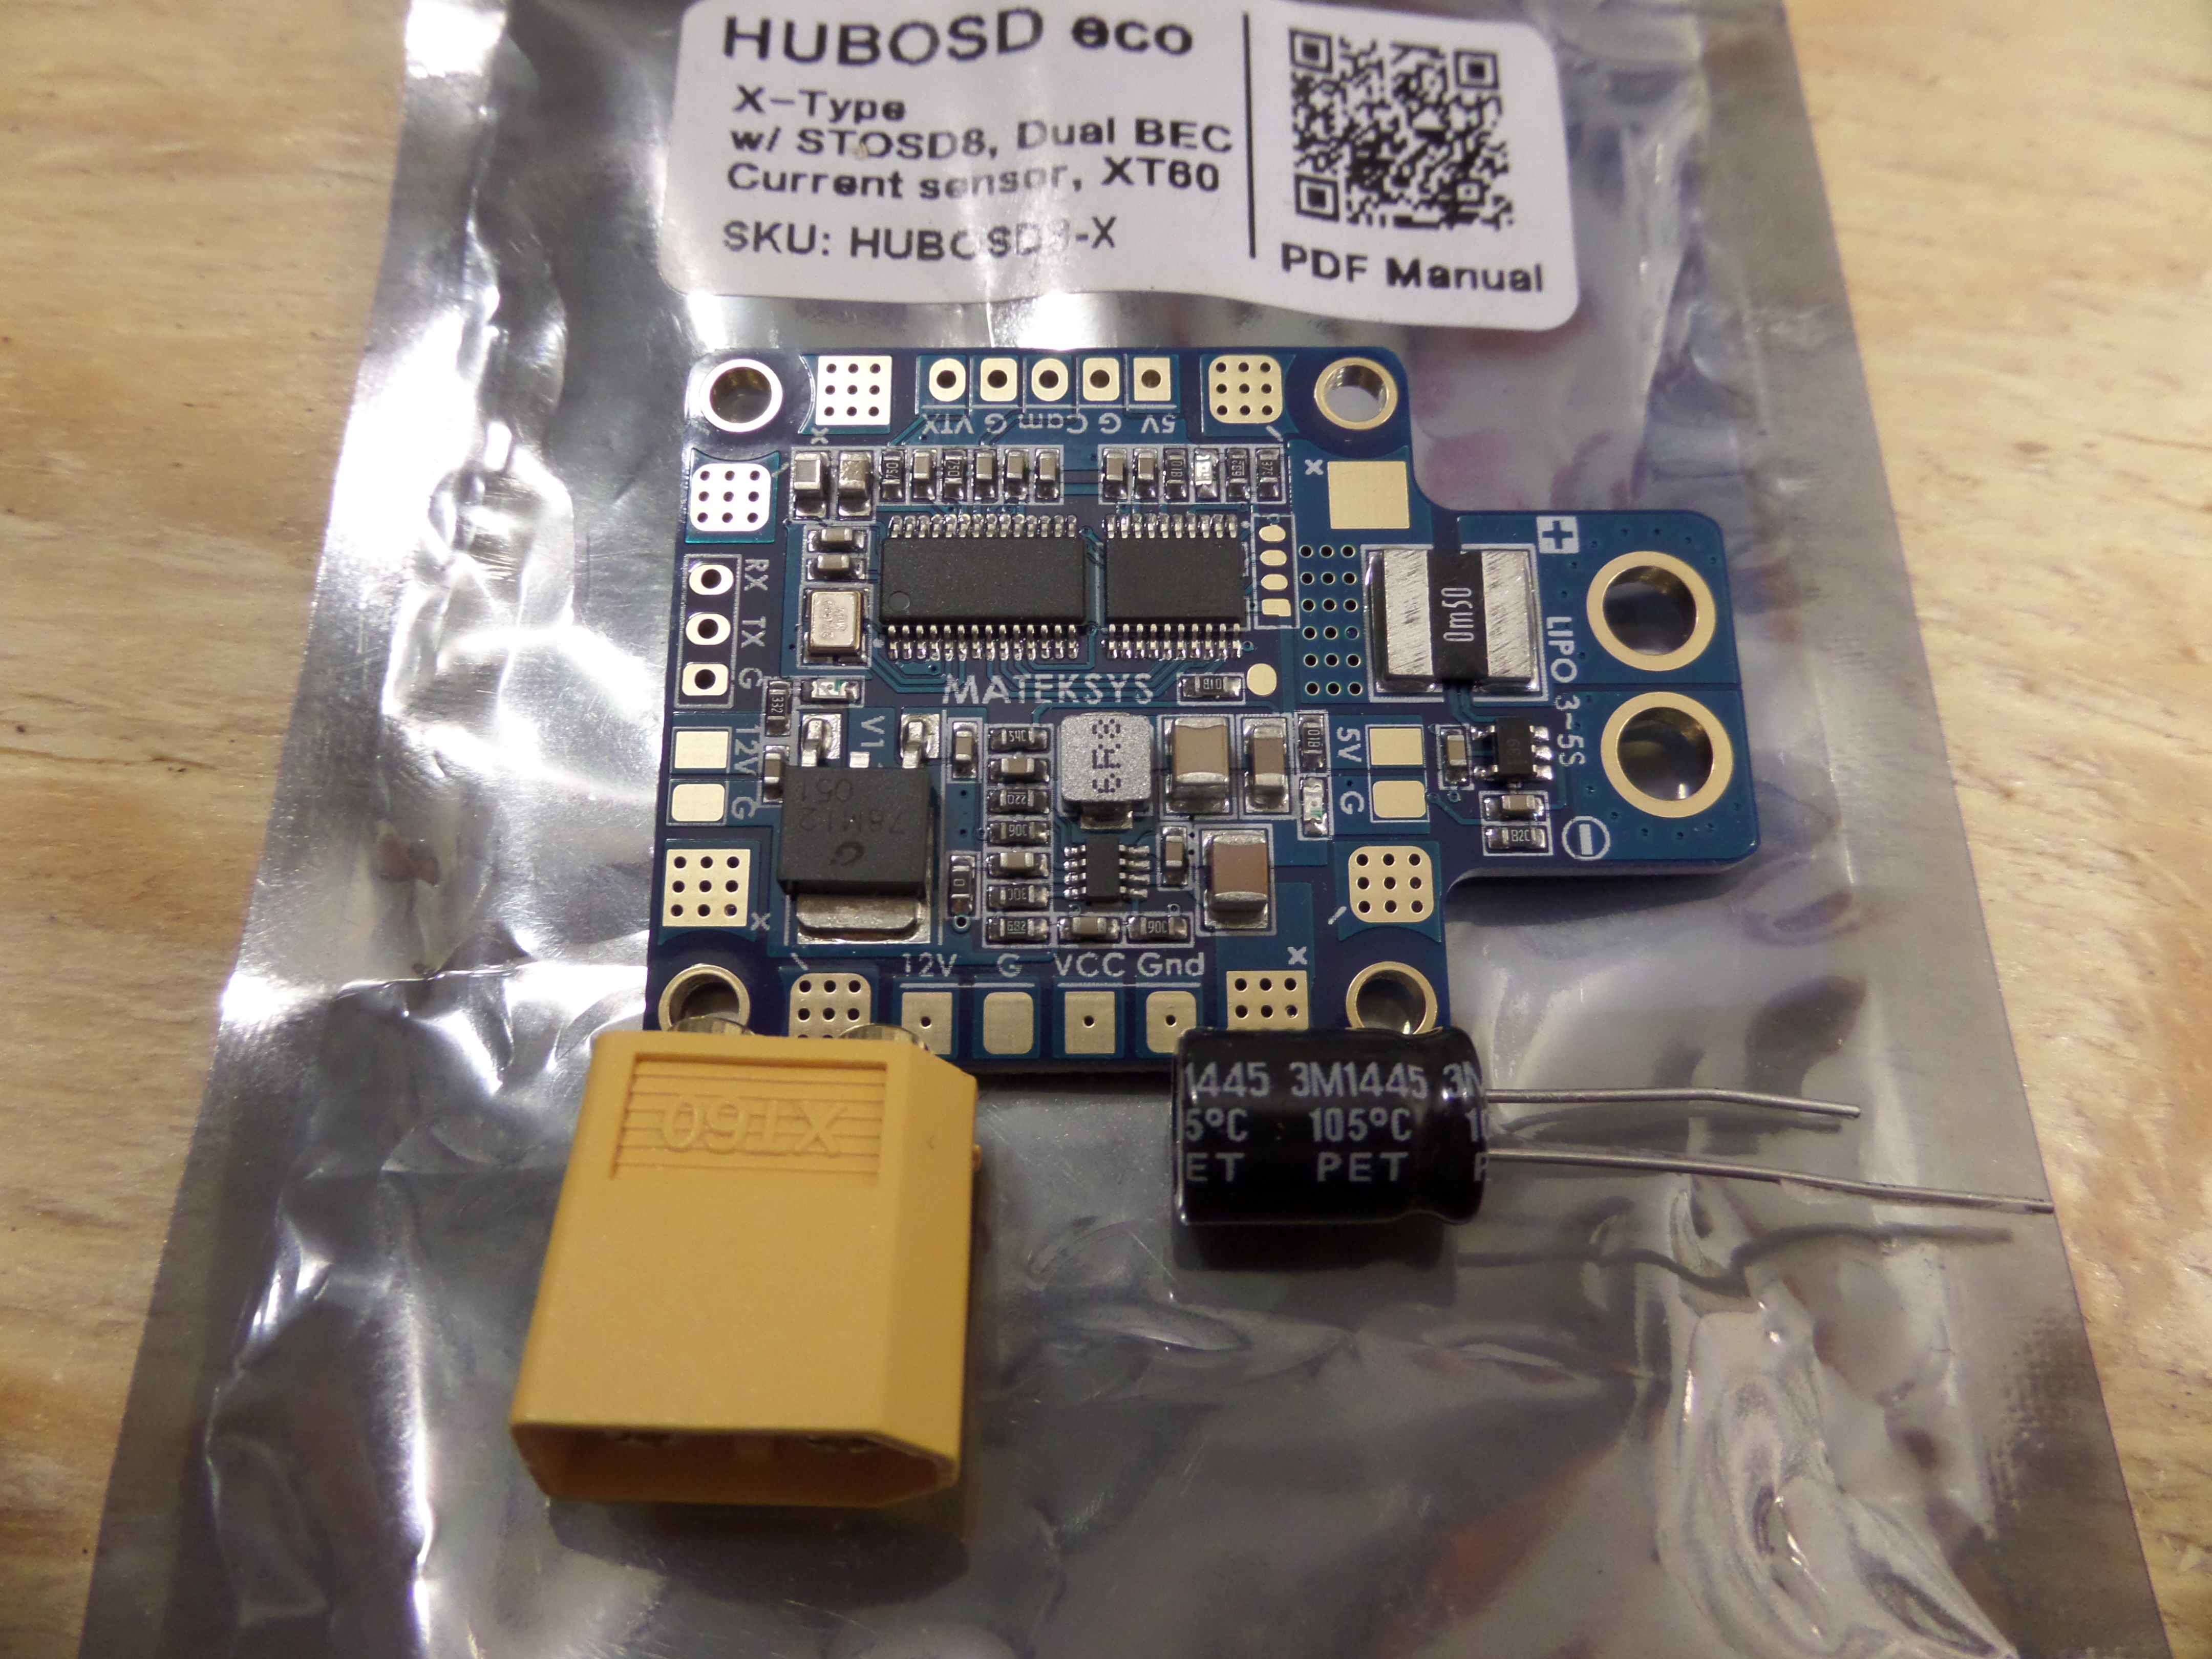
Matek HUBOSD
Here we have a combination of power distribution and on-screen HUD. The battery will plug into this board and it will distribute the current at different voltages to all the other pieces of the system. It also takes the video feed from the camera, overlays data on top of it, and then outputs it to the video transmitter. Since it is carrying all of the copter’s power, it can measure amperage draw and the battery’s voltage and display that on the video feed. So I’ll be able to see the battery’s status in-flight and know exactly when I need to come in for a landing.
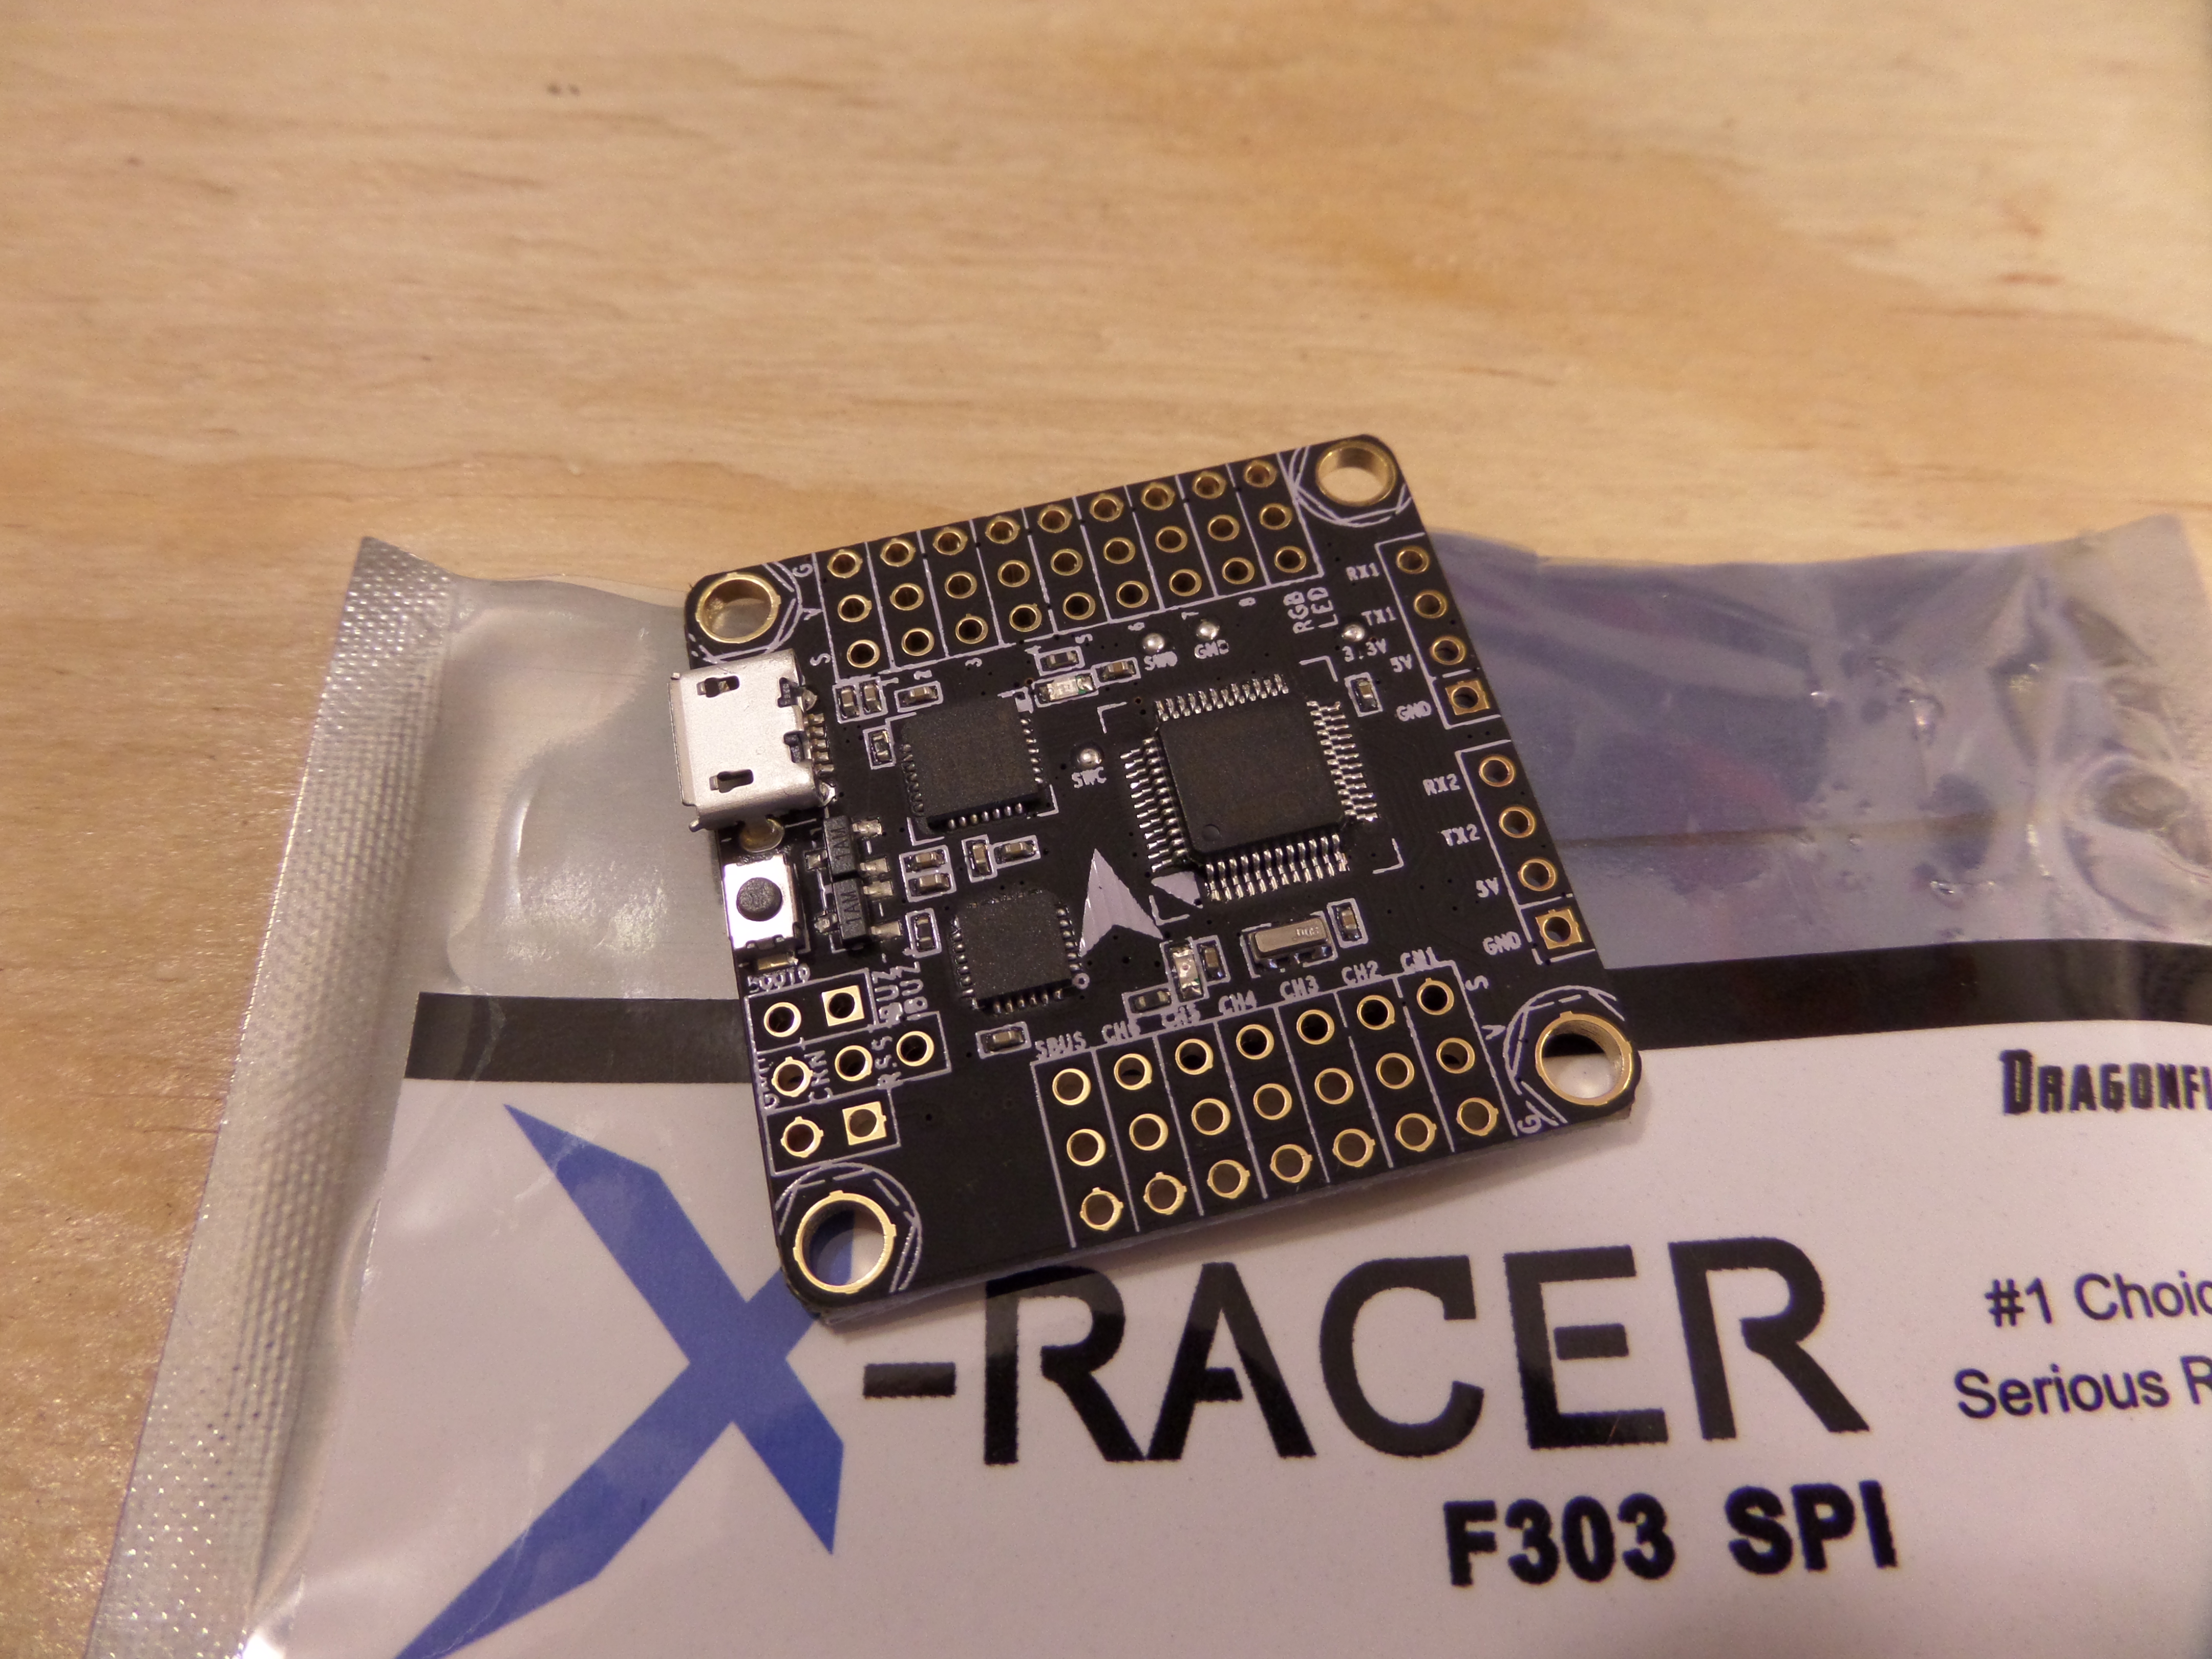
X-Racer F303 flight controller
This is the flight controller–the brain of the quadcopter. It takes sensor and radio input and calculates exactly how fast each motor should be spinning to make the copter’s movement match the radio commands. The only onboard sensors this board has are a gyroscope and accelerometer. Compare that to top of the line consumer drones from companies like DJI that also include a GPS chip, barometer, magnetometer, and sonar, and you see that this one is pretty bare-bones. But that’s all that’s necessary for a freestyle racing quad! I won’t be able to do autonomous flight, but I will at least have auto-level (which I’ll only use when flying line-of-sight) courtesy of the accelerometer, and precise attitude control courtesy of the top-of-the-line gyroscope.
Now let’s look at the power train. We need to know what will get those props spinning! First, the speed controllers:

Electronic Speed Controllers (ESCs)
Each motor is controlled by a separate speed controller. The black and white twisted wires are a ground lead and a signal wire. Those connect to the flight controller and are used to receive the commands of how much power must be sent to the motor. The thicker black and red wires are the power leads that connect to the power distribution board. The bare pads on the other end will connect to the motors, and so the ESC essentially pipes power from the battery to the motors according to what the flight controller is commanding it to do. The BLHeli_S label on these lets us know that these ESCs are capable of running the latest cutting edge BLHeli firmware with critical high performance features such as the ability to apply active braking to the motors.
These ESCs also came with these weird little hard shell cases that I’ve never seen before. They are interesting, but I probably won’t end up using them. Still, I guess it’s a neat idea for some whose builds might be able to take advantage of them.
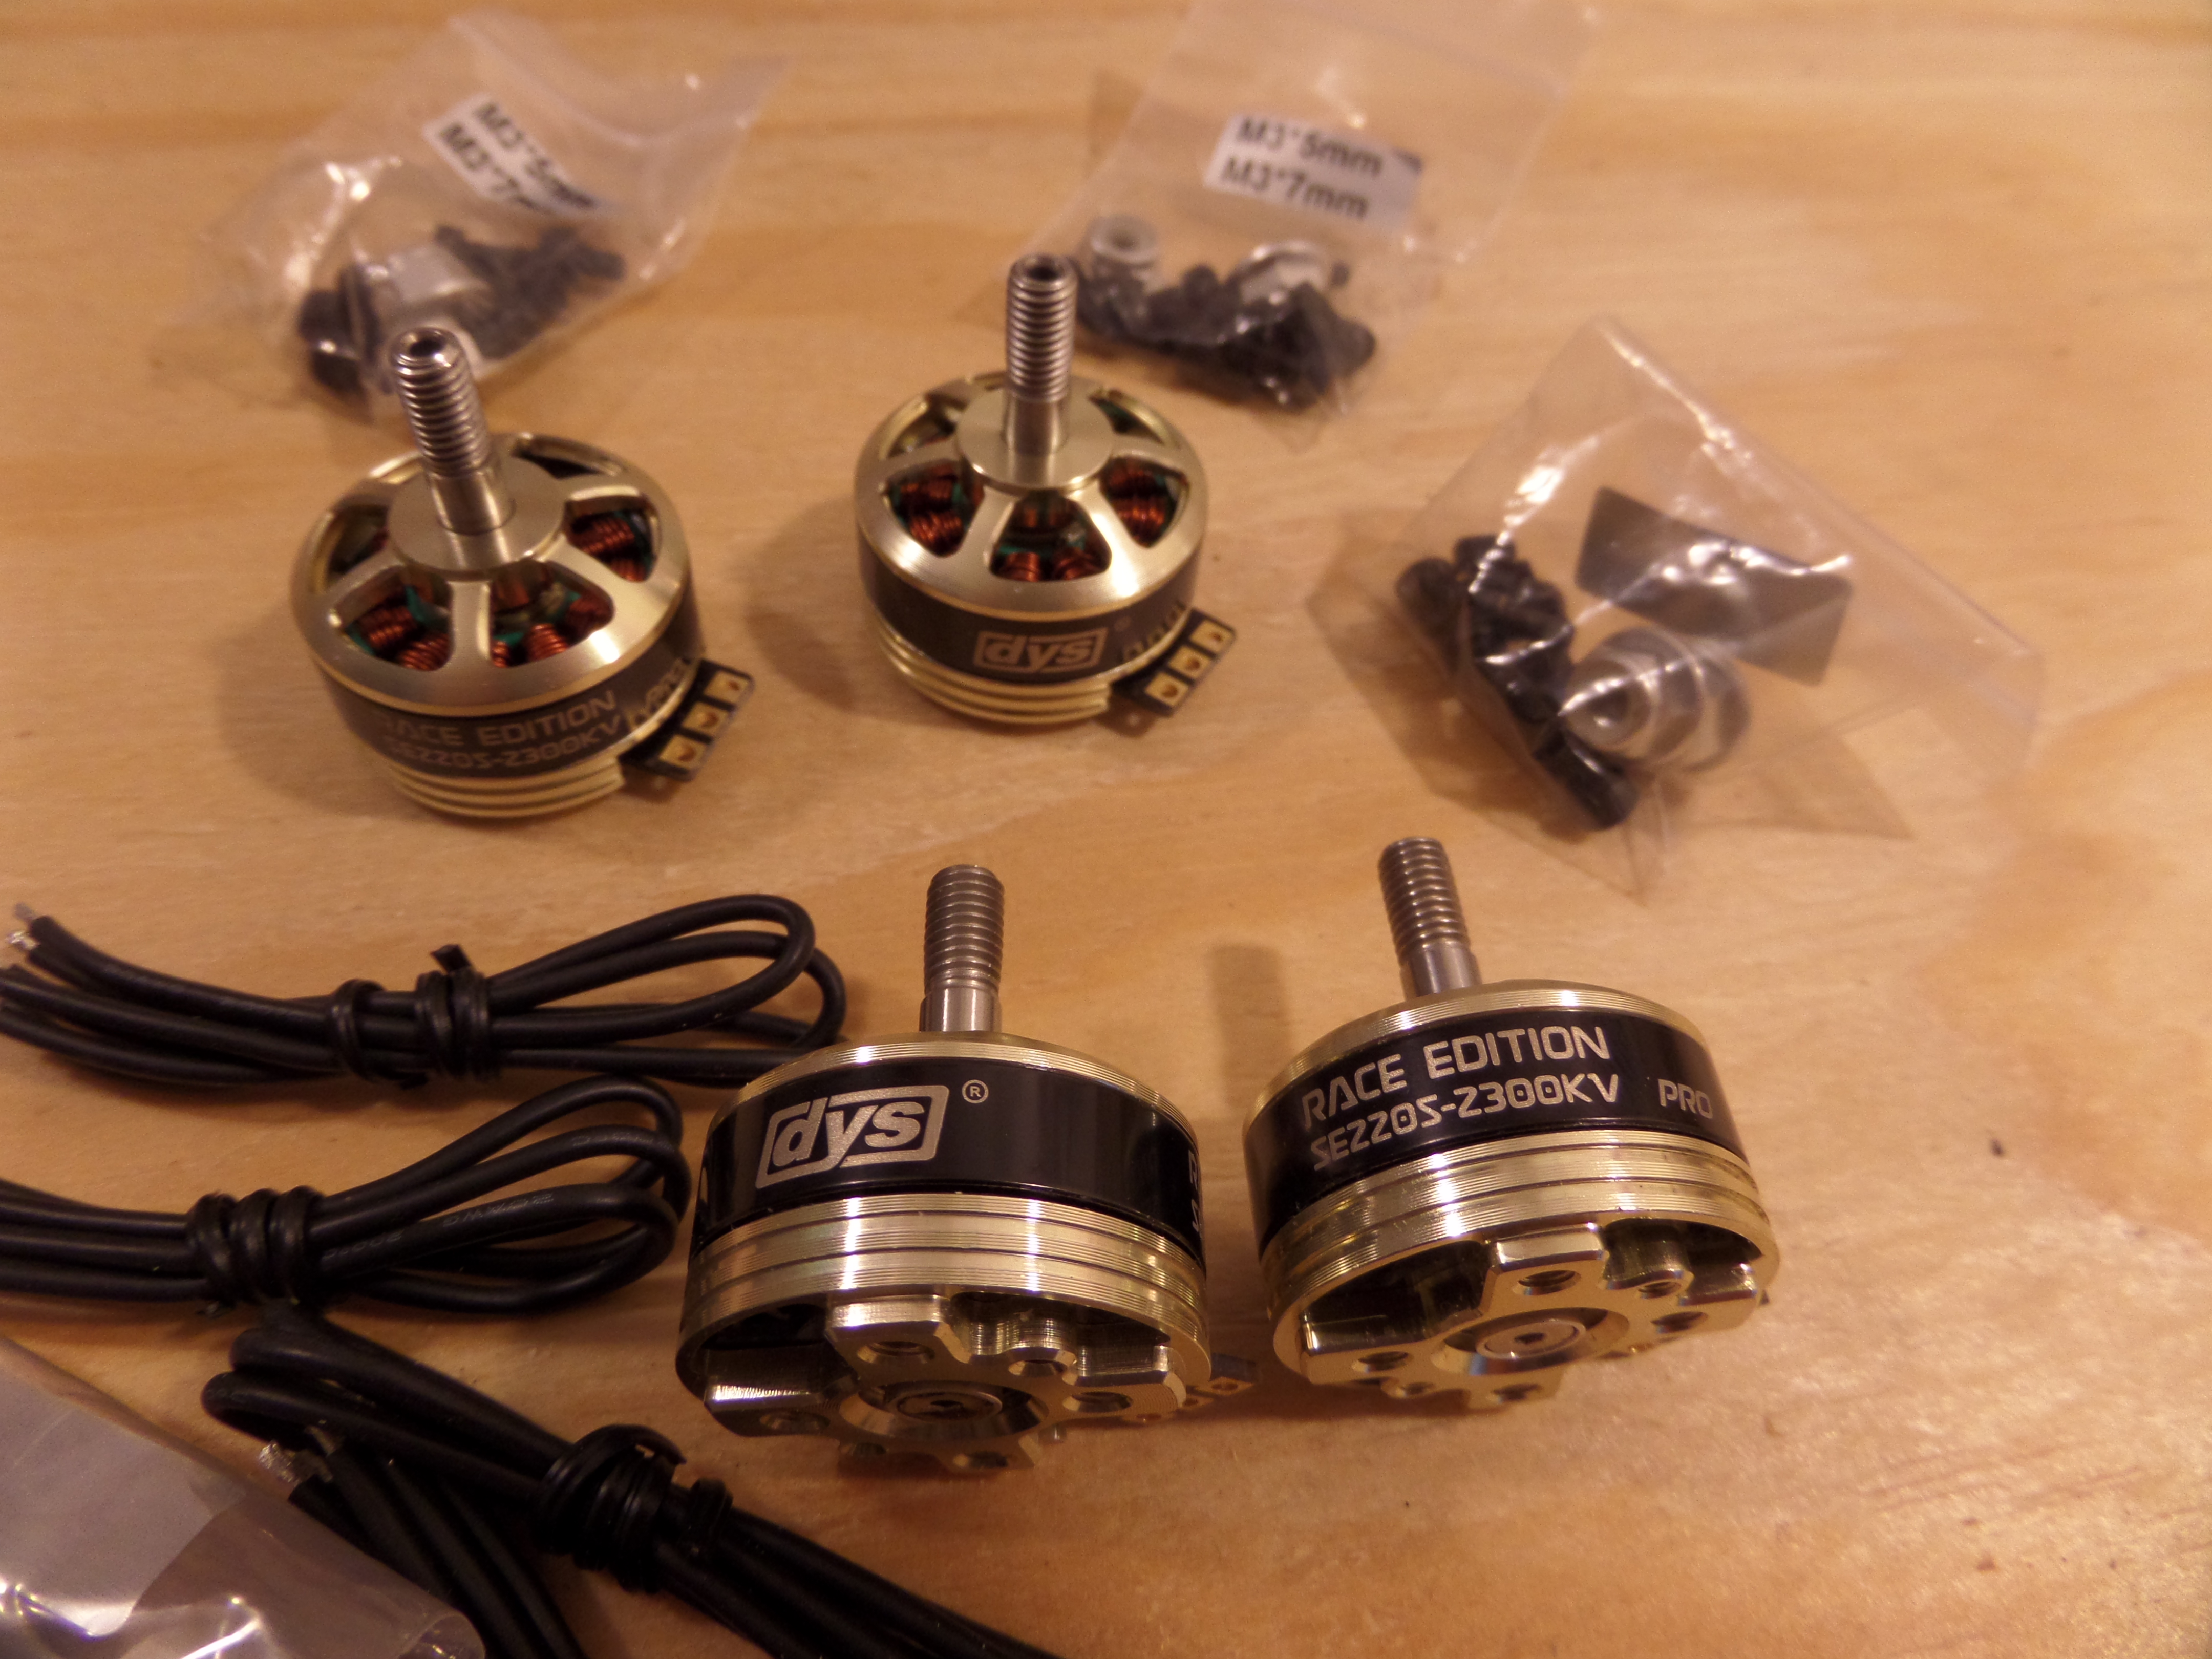
Shiny.
And here are the motors. You can pick apart the numbers to learn some additional details about them: 2205 is code for the size of the stator core: 22mm diameter, 5mm tall. 2300KV means that for every volt of electric potential that is supplied to the motor, it is able to spin another 2300RPM. I’ll be running 4 cell (in series) lithium polymer batteries which fully charged sit at 16.8 volts… that means in theory these motors will be able to spin at 38,640RPM! Daaaaaamn!

5x4x3 props
Here are the first props I’m going to try out. Let’s pick apart that 5x4x3 number: the prop disc area has a 5” diameter, a 4” pitch (angle of the blades; for every revolution the prop will move forward 4 inches), and there are 3 blades. I’m pretty sure this is the most popular type of prop currently used on mini quads.
Why three blades instead of two, or even four? Well, adding additional blades provides more trust which equals more power, but the downside is that additional blades also add additional turbulence that the blade behind it then has to pass through, and that ends up decreasing the propeller’s efficiency. This means in theory the most efficient propeller has a single blade, and indeed those types of props are used on ultra light aircraft like gliders. However, we’re racing here. We need POWER! So at the expense of battery life, my new copter will be quicker around the track. Three is kind of the popular middle ground for power vs efficiency in a copter of this size.
Alright, so how do I control this thing?

FrSky XSR receiver
For this copter I have switched radio technology. I’m now using the digital FrSky system which has a reputation of having a very good range for 2.4GHz, and also is able to have 2-way communication with the copter. My radio will receive telemetry from the copter such as sensor output and battery voltage. I plan on setting up an alarm on the radio to alert me when the battery gets down to about 14V or less as an extra layer of protection against over-discharging it. Another AWESOME feature of this receiver, perhaps at one time the top selling point to me, is that it connects to the flight controller through a serial bus. That means the commands for every radio channel (I think I’ll be using 8 or 9) are sent down one wire, instead of having to have a separate PWM connection for every channel. That was the case with my previous two copters and leaves you with a thick bundle of wires that must connect to the flight controller. That sort of thing is just no longer the way to go.
Last but not least, something has to hold this whole thing together:
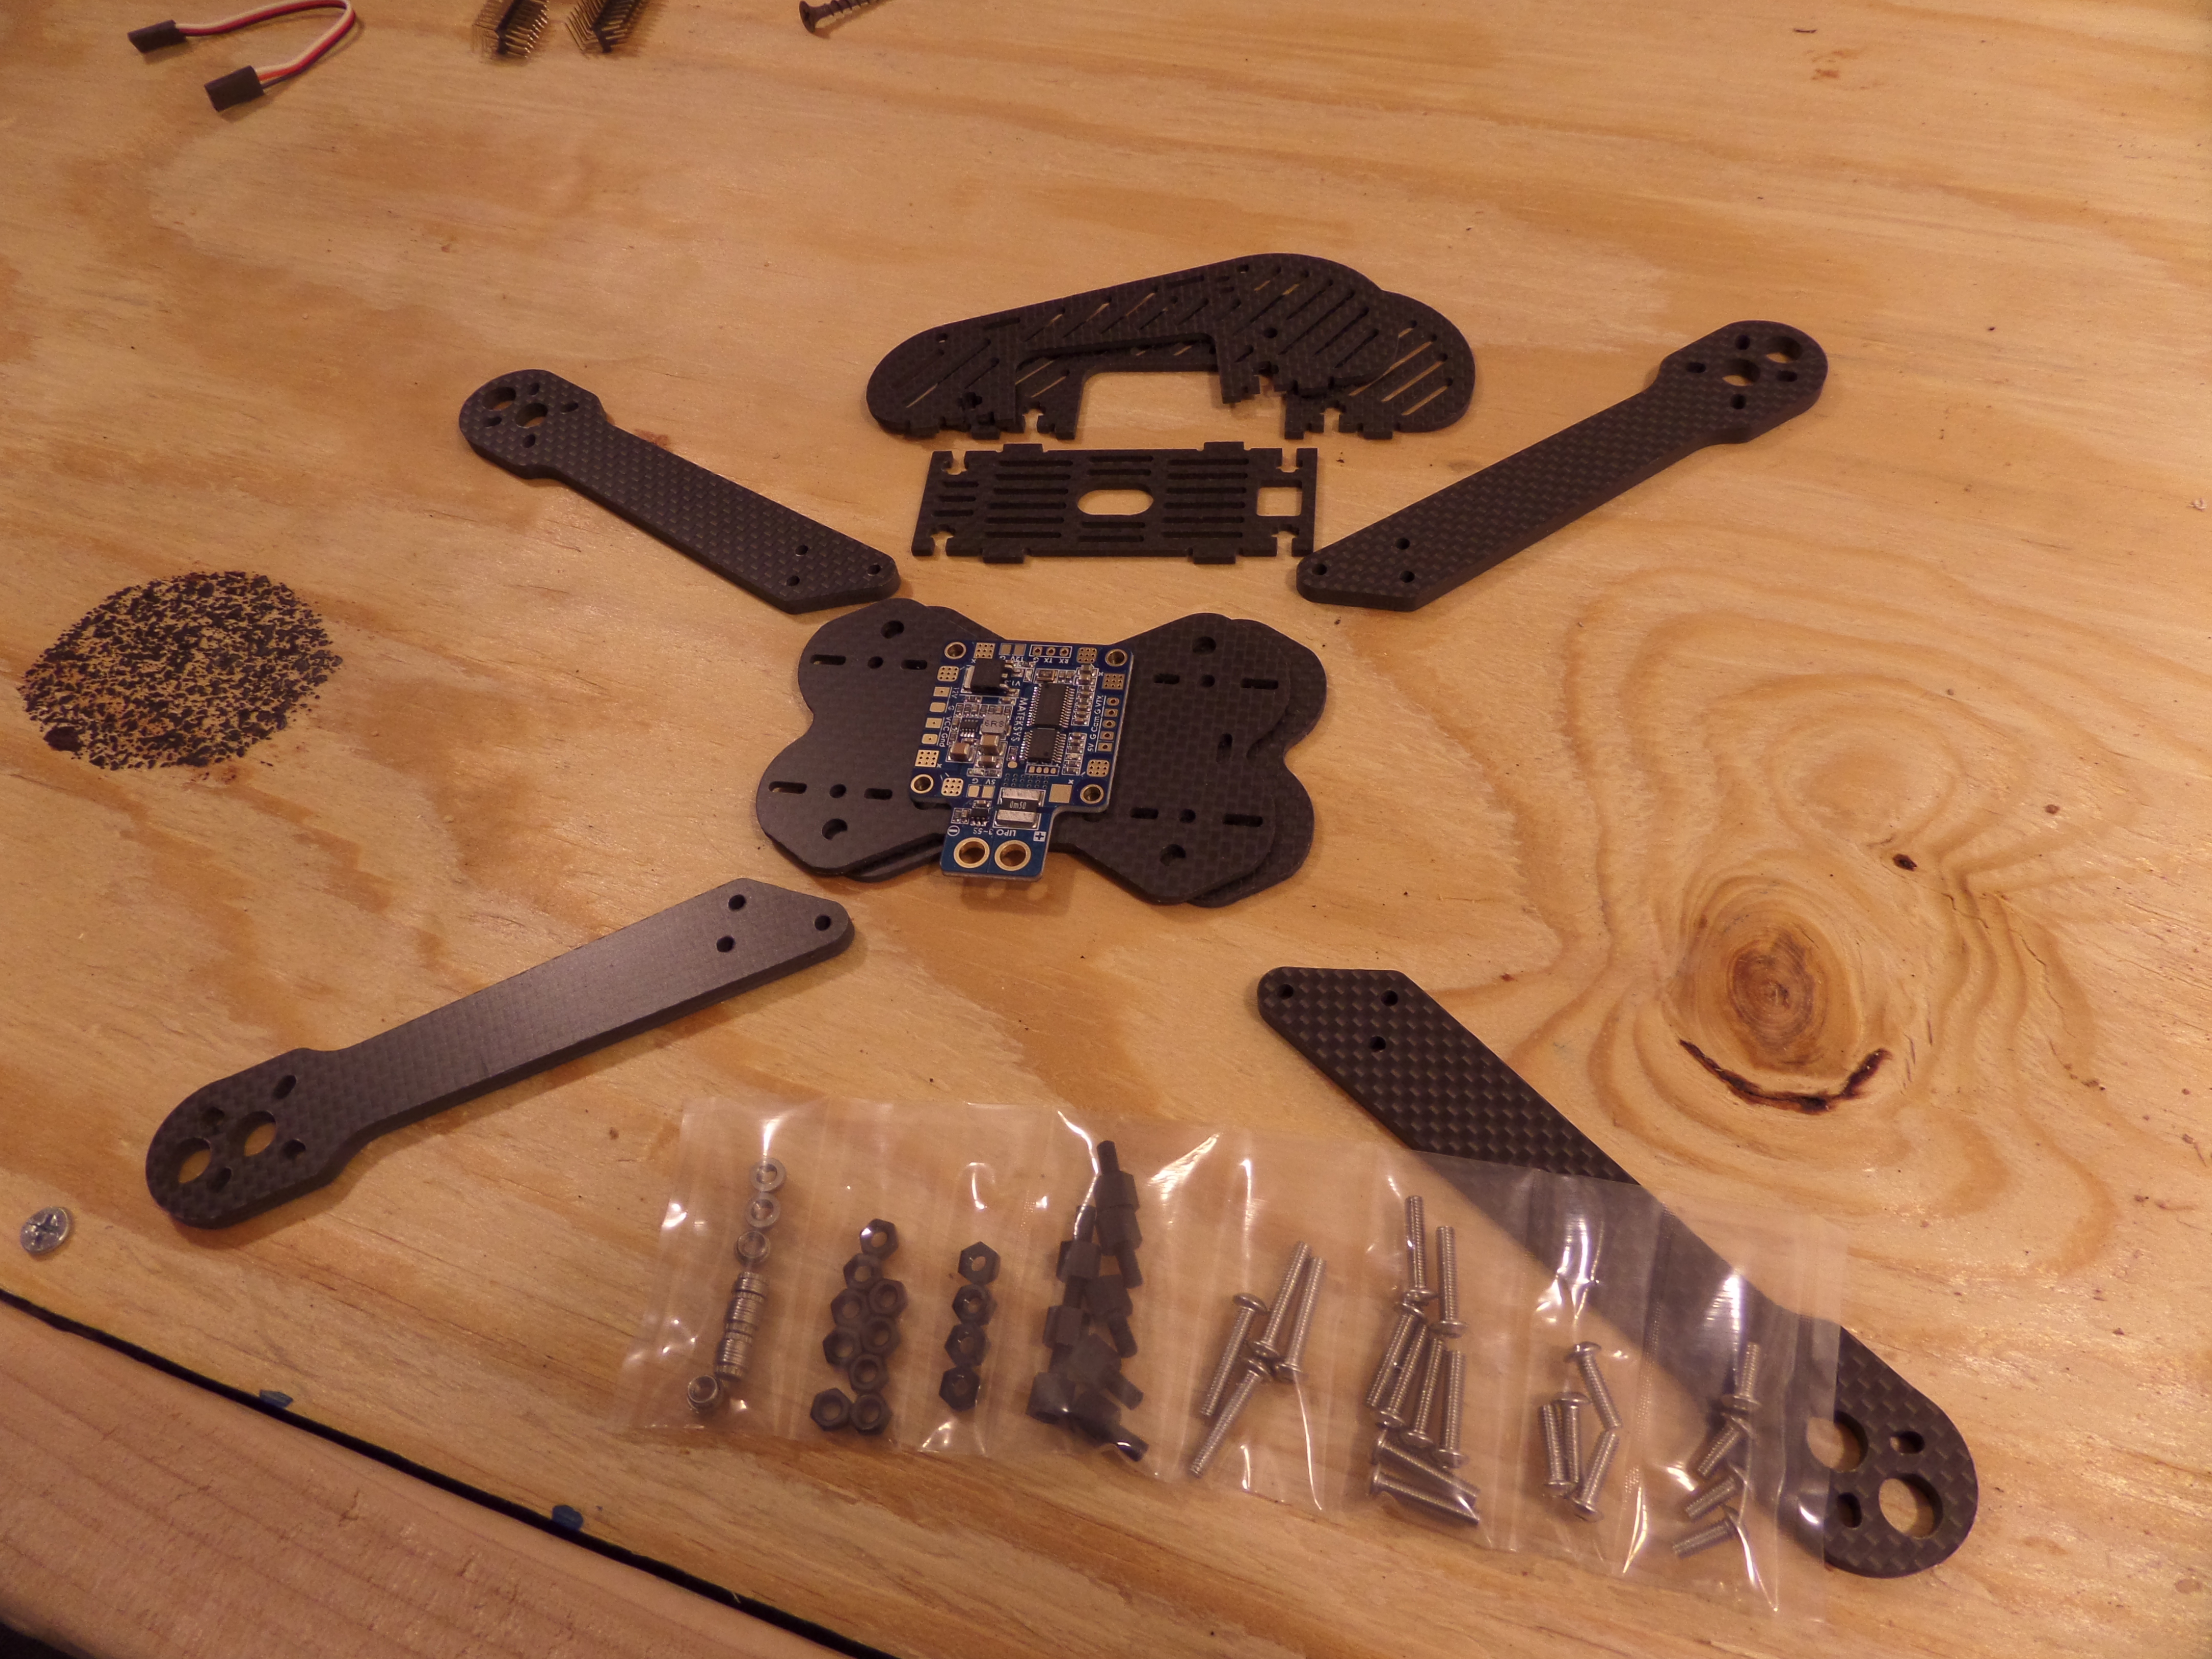
Coyote Stretch-X from AllCarbonRC
Here’s the fully carbon fiber frame with the power distribution board on top for perspective. Just a few years ago it was still common for people to build frames out of wood, but now carbon is just about everywhere. I’d be shocked to see a racing quad that wasn’t carbon, though you can still find frames for sale made out of delrin or other high strength plastics. Lots of DIYers are also 3D printing their frames, and in fact, the Maker community has fully embraced the DIY drone world in that respect. You can find 3D printed parts that are perfectly customized for, say, mounting a GoPro on some particular kind of frame. People trade 3D prints on forums and even at our local races. It’s awesome!
So there you have it. That is what makes up today’s racing drones, and all drones to a certain extent. Now I just need to put this all together…